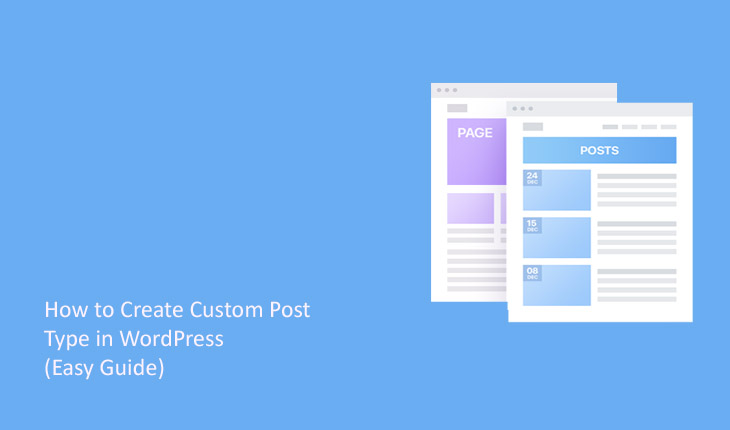
When you set up WordPress, you’re given three basic content types at first: posts, pages, and media. But as you start using it more, these basic options might not be enough for everyone’s needs. How to Create Custom Post Type in WordPress (Easy Guide)
To solve this problem, WordPress has become more adaptable and sophisticated. This is where WordPress custom post types come in handy. They allow you to create and handle content that extends beyond the basic posts, pages, and media.
In this article, I’ll show you how to create and manage custom post types in WordPress, from understanding why they’re important to fixing common problems.
If you’re using managed WordPress hosting from Cloudways, you can easily follow these steps. Let’s begin to elevate your content creation to a new level!
What Are Custom Post Types?
WordPress offers a variety of custom post options that can elevate your website to a robust content management system (CMS). These options extend beyond the basic posts, pages, and media types, allowing for an unlimited variety of custom post types.
By default, WordPress comes with a few different post types:
- Post
- Page
- Attachment
- Revision
- Nav Menu
For example, for a news website, you could establish a unique post type named “News”, which would be allocated a separate section within the WordPress dashboard admin area. This setup allows for the creation of as many post types as desired, including “Movies”, “Portfolios”, and more.
For WordPress versions 5.x, a comprehensive guide is provided on activating the Gutenberg Editor for your custom post type. For further details on other types of posts in WordPress, consult the Custom Post Types codex documentation.
Default vs Custom Post Types
Default post types, such as standard posts or pages, offer simplicity and easy management on most websites. On the other hand, custom post types provide flexibility and organization for content specific to certain needs or industries.
Both options have their strengths, catering to different requirements and preferences in content creation and display.
| Default Post Types | Custom Post Types | |
| Availability | Available by default when you install WordPress. | Need to be created manually or with a plugin. |
| Types | Posts, Pages, and Media. | Unlimited, based on your needs (e.g., News, Movies, Portfolios). |
| Flexibility | Limited to the built-in options. | Highly flexible, can be customized to fit your specific needs. |
| Usage | Ideal for standard blog posts, static pages, and media files. | Ideal for specialized content that doesn’t fit into the default post types. |
Why Use Custom Post Types?
Here are a few more reasons why you should use custom post types in WordPress:
- They help keep your website tidy by separating different kinds of content.
- They make it easier for visitors to find what they’re looking for on your site.
- They let you add special features to certain posts, like review scores for book reviews.
- They can help your site show up higher in search engine results.
- They make it easier to create consistent, structured content, especially when multiple people are adding content to your site.
Create Custom Post Types in WordPress
Installing specialized post formats in WordPress can be achieved through two distinct approaches: through a plugin or by hand. Each approach suits various levels of user expertise and personal tastes. Let’s examine them in detail.
Method 1: Create a Custom Post via Plugin
You can create a WordPress custom post type easily using the right plugin. For this article, I’ll use the Custom Post Type UI plugin to guide you through the process.
Step 1: Install and Activate the Plugin
The first step is to install and activate the plugin.
- Go to your WordPress Dashboard;
- Select Plugins → Add New;
- Search for the ‘Custom Post Type UI’ plugin;
- Install and Activate the plugin
Step 2: Set up and Configure the Plugin
Once activated, you’ll find a new menu item in the dashboard called CPT UI.
- Click on CPT UI → Add/Edit Post Types to create a new custom post type;
- Fill in the Post Type Slug, which is a required field and must be unique (usually a lowercase string with no spaces);
- Add the plural and singular names for your custom post type as they will appear in the dashboard;
- Click on the Add post type button.
Step 3: Use Your Custom Post Type
Your new custom post type should now be visible in the WordPress Dashboard. You can start adding new content by clicking on the menu item for your custom post type.
- Go to Add New and customize your custom post type.
- I will add a quote and contact form on my news page;
- To do that click on the + (plus) sign;
- Select Pull Quote.
- Select Contact Form 7.
- Click on the Publish button.
- Here’s what the final news page looks like.
WordPress Custom Post Type FAQ
- What’s the Difference Between a Post and a Custom Post Type?
- What Can You Change in the WordPress Custom Post Type?
- Is It Possible to Get a Custom Post Type ID?
How to Create Custom Post Type in WordPress (Easy Guide)